Archive
Engine Bay Respray
Just like the underbody this needed a really good clean up, some minor repair and then a recoat. This time I decided to do only a very light Wurth SKS, really only to even out the finish. I went down this path because the original coating was still largely intact. Only needed a bit of work around the base of the shock towers and around the trailing arm mounts on the torsion tube. Now for final cleaning of components and reaassembly – the fun part! Cleaning up the engine bay remined me how much I really hate the grubby work.
Front Boot Restoration – Update 23/10/11 – Complete
UPDATE – 23rd October 2011
With the fuel tank in the front boot is now 99.9% finished. I’m pretty happy with it. The fuel tank had previously been repaired with metal patches so I smoothed the edges of the welded patches as best I could and recoated. 4 hours on the wire brush to get it back to metal was mind numbing to say the least!
UPDATE – 12th September 2011
Paint decal just got back from the printer. I’m pretty happy with the result, not perfect but very close, certainly close enough for this application.
UPDATE – 26th August 2011
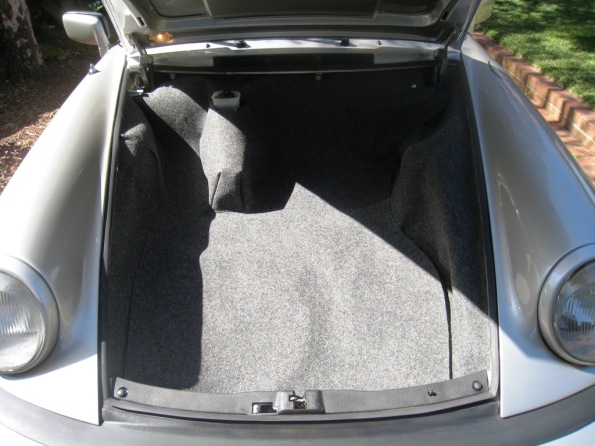
Bar the fuel tank and bonnet seal I finished off the front boot today. I’m very happy with how it’s come together.
Here’s some pics. Note the Y connector which is installed to allow fresh air through the a/c dash vents.
UPDATE – 21st August 2011
Inch by inch….. Put the bonnet lid back on today. Also have tidied up most of the wiring and the lare part of the ventilation system back in – amazing how much grime in the distributors. Hoses have been ordered plus I found a ‘y’ connector so I can divert some fresh air into the dash vents now the A/C has gone. It will compromise flow to pasenger side but we’ll see how it goes. If it’s not up to standard I’ll work out another solution.
UPDATE – 11th August 2011
Not too much to report but starting to assemble the front boot. Here’s a pic of the early stages of tidying up the wiring.
UPDATE – 4th August 2011
Finally got some more real progress. Been waiting for some warmer weather to paint the front boot plus my weekends have been jam packed lately.
I’ll let the pics tell the story but in short the process was cleaning up the surface which involved removing that tar around the shock mounts. A bit more minor repair work and then hit it with high build primer. The front section had some SKS applied then time for colour. I’m using Glasurit Line 55 – beautiful quality paint.
UPDATE – 13th June 2011
Made some good progress today. Did most of the prep work, just a few more areas to cover then final clean, mask and prime. I’ll be applying Wurth SKS around the front – just a light coat or 2. The rest will get some light priming and then colour. When this is done I’ll tackle the tank abd can then start assembling. I purchased some rolls of black fsbric tape which I’ll use for the wiring – much nicer and OEM looking than PVC tape.
With the suspension, brakes and rest of the underbody now under control I have diverted my attention to the front boot. I had intentions of doing this later but I figured now that the car has been off the road for 12 months another month is fine.
Ideally I would completely remove everything but it’s just not practical for me to do this. I am drawing the line and not removing the dash ‘bits’ including the wiring. Instead I have removed most of the plugs, hoses, etc and will mask it all back. I’ll try and spray so that there is no hard line so that it blends as much as possible. The blend area will be covered by the heater components and aluminium cover anyway, plus the whole thing gets covered in carpet so it’s not really going to compromise the job. One day I might do a complete ground up, bare metal, rotisserie resto so it can wait till then – although it will probably be on another car.
Here are some before pics plus some images of what’s been removed so far.


