Archive
At the Panel Shop – UPDATE 27th August 2012
UPDATE – 27th August 2012
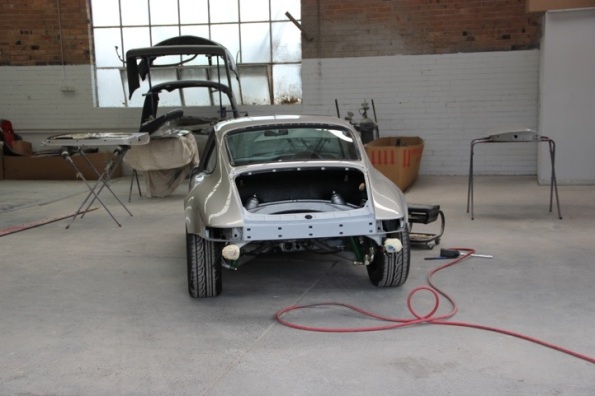
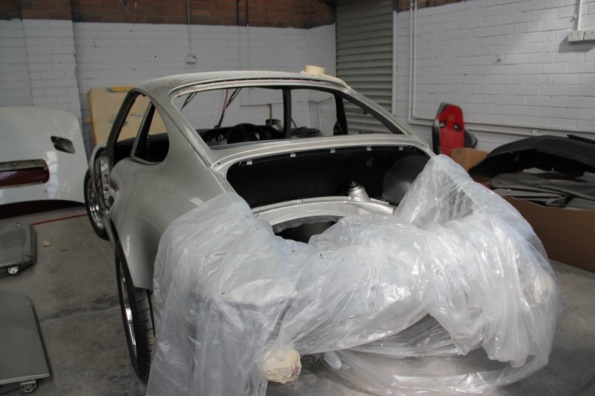
A fair of time has passed since the last update. I was away for 3 weeks plus a few other distractions got in the way. Car is back and I have just finished the assembly. Just needs the engine. Here’s the pics.
UPDATE – 29th May 2012
Here’s some pics fresh out of the oven. The original plan was to rub back to ‘glass’ but the job is so nice off the gun we are going to leave it. It actually looks a bit more natural with a slight bit of the peel. More pics when I start to get it assembled.
UPDATE – 25th May 2012
It’s coming along now with top coat due any day. The following pics show some of the prep. At this stage car has been rubbed back with some areas taken back to metal – as there was way too much product from previous ‘touch ups’. There was so much on there that the paint was cracking in spots, especially under the rain gutters. It’s all been sorted now and the car is virtually ready for primer filler. These guys are working fast now!
Good news is that nothing nasty has been uncovered, just the excess product which has been rectified.
UPDATE – 17th May 2012
First update in about a month but there has been plenty going on in the interim – I’ve just been lazy updating the blog. There’s changes with the bodywork, engine, transmission and interior but I’ll post updates separately. For now it’s the body work.
The car currently sits awaiting a final coat of primer-filler and then the whole car will be rubbed back and then colour coated. Colour is probably about 2 weeks away. Here’s some pics but I’ve added a bit more text after the images.
To date the guards have been prepped. I ended up replacing the RHD front guard as the origianl had some rust and rather then attempt a repair it was easier and more cost effective to replace it. I also replaced the rear bumper for the same reason.
The cracking in paintwork around the rain gutters was a result of too much pain on previous repairs. This area was brought back to metal and it was discovered that the car had more than one previous paint job. It appears that each owner had a go at making the car look as good as new. The end result was too much paint and so the rub down will sort this out – this has partly caused a delay longer than expected. I’m confident with Frank who is doing the job, he knows I want a top job and he is working accordingly. We’ve discussed how he will paint the panels and the end result is that the jambs will be done and then the entire car painted with panels attached – this came from consultation with his sprayman and the fact the car is silver metallic.
Other minor points are that the areas that scared me the most were the sills – but they are OK. I had some polished sill guards and I suspected they were covering up some nasty surprise. This wasn’t the case which was a huge relief. When the car goes back together I’m putting the factory black rubber ones on – less bling and more class in my opinion.
UPDATE – 12th April 2012
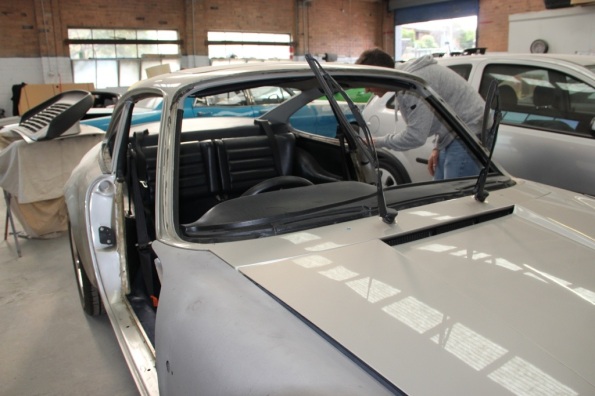
Dropped in the collect the window trim which will be powder coated, along with the door handles and other external trim work. I was a little worried what it would look like with the windows out, in particular potential rust around the front windscreen. The was also a spot at the top of the driver side rear window but this is fine. A bit of cleaning back and it will be good. Not really worth pics but I thought I’d add these.
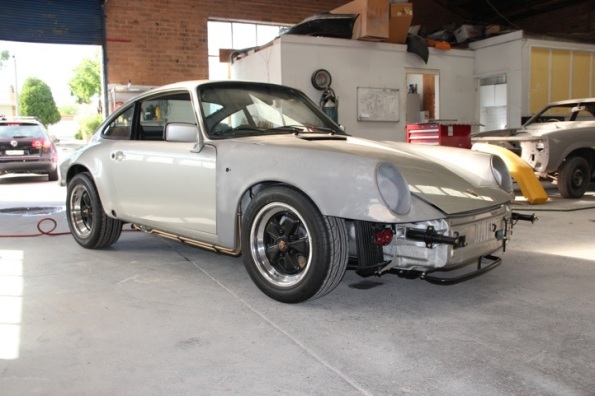
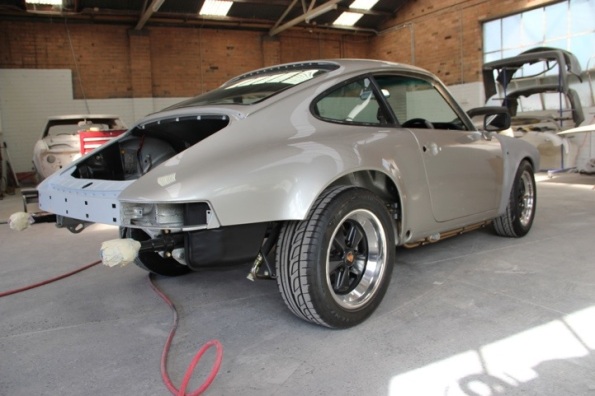
The car is now in the hands of Frank, who is going to fix up all the small blemishes and give the car a full respray. The pics make the car look good already butplenty are small issues I want fixed. Door jambs are rough (previous respray), rear quarters need to be reblocked, couple of small runs, some chips, a couple of small parking dents, and refinished lower panels all add up to the full respray.
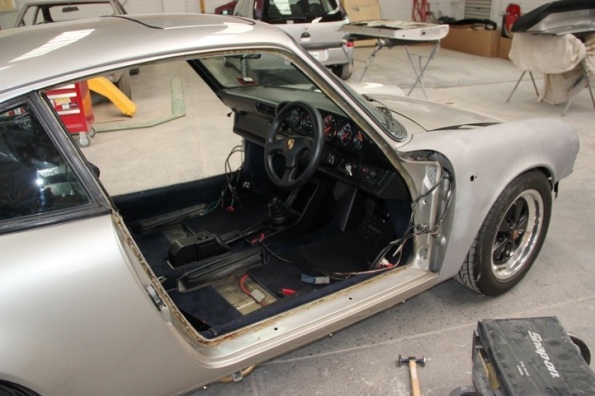
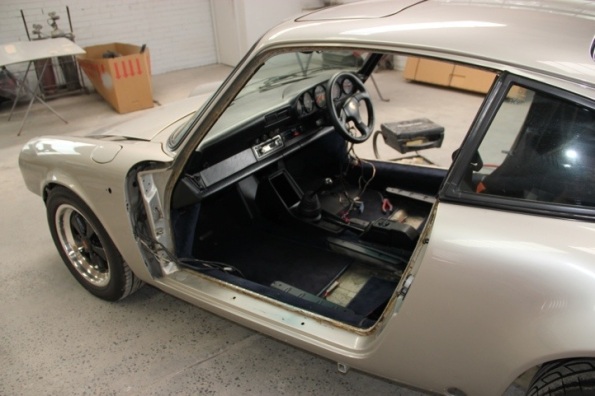
Some before pics -after spending a couple of hours removing doors and mirrors.
Interior Project – Update 27th August 2012
UPDATE – 27th August 2012
Well – the interior is now officially finished. Fitting the door panels involved fixing up the mirror and central locking wiring plus also fabrivating a tempalte to cover up the old 6×9 holes in the door itself. I’d say there was 3-4 hours in each door not including making the door panel itself. Anyway, it’s all done and I am very happy with the level of finish for an amateur (being me!).

Not my car but these are the seats I’m using. Exposed floorboards are like mine as well – just the steering is on the wrong side in this car.
Like everything else I have completely removed the interior except the dash and it’s attached bits. This gave me the opportunity to rethink the interior and so I made the following decisions:
- RS America door panels – always loved them and now I’m going to have them..
- Pulled the front seats to clean undeneath and they were so heavy I’m putting in R replicas
- New carpet – still blue but darker and more suitable for extra black bits
- Dyed rear seats and door tops black (from navy blue)
- Remove the old 6×9’s in the door and replace with 6.25 = much nicer looking and sounding
More pics but also more text below:
The door panels came up well. I made them up using a template, some 3mm MDF and a jigsaw. After they were cut I sprayed with 3 light coats of clear 2 pack – excessive maybe but I had the paint so it was really no cost to me. Now I know they are waterproof!
I’ll be using the red nylon pulls but also bought black in case the red was a bit too bright. At the moment I’m loving the red.
Seats are Cobra R replicas. They are new and I have all new sliders and brackets. I bought these from a very nice fellow Porshce enthusiast. I’m really happy and can’t wait to install them. They are immensely lighter than the electric ones I had.
I had some carpet from when I redid the front mats. The new carpet is darker (more midnight blue) than what was in there. I am going to a predominantly black interior. Fashion police will tell you blue and black don’t match but I like this combo.
I dyed the rear seats and door tops black. I used the same product to do the hard plastics such as door locks and interior door handle bezels. The result is excellent and it all looks new. The rear parcel shelf has also been dyed.
When re-covering the rear side panels I decided carpet was a nice option. I’ve seen this before and I think it looks good. The kids decided it would be nicer for them – as they are pretty much the only ones small enough to fit back there anyway.
In the pics you’ll see how it’s come up. Everything is pretty much ready to fit – just need a painted car back in my possession! As a side point you’ll see some external rubbers that have been reconditioned. I’m very happy with these as well.


